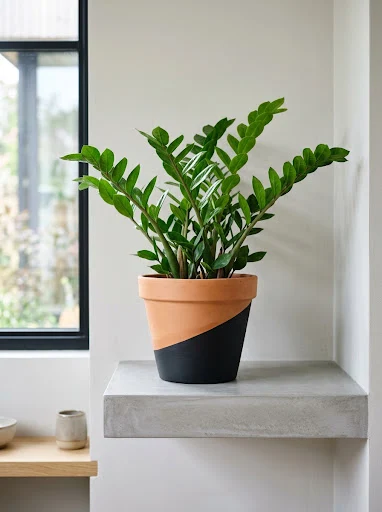
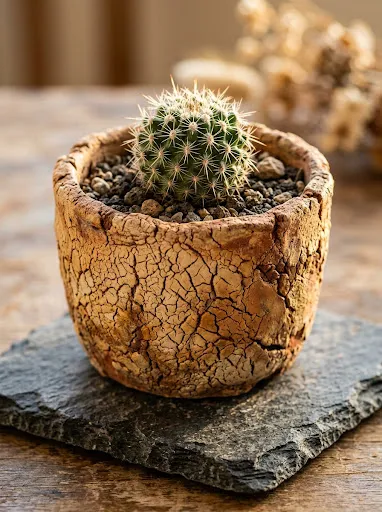
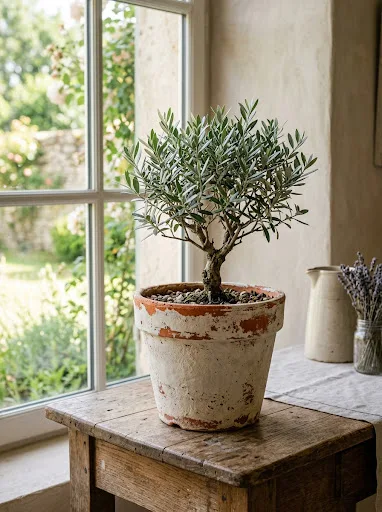
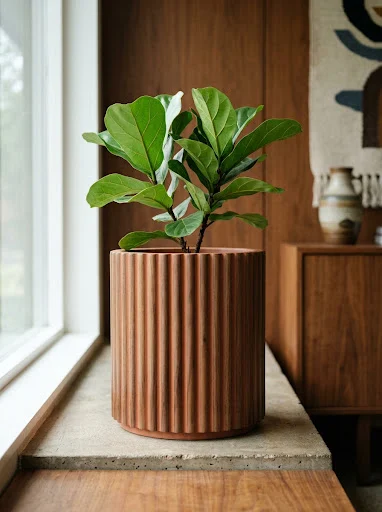
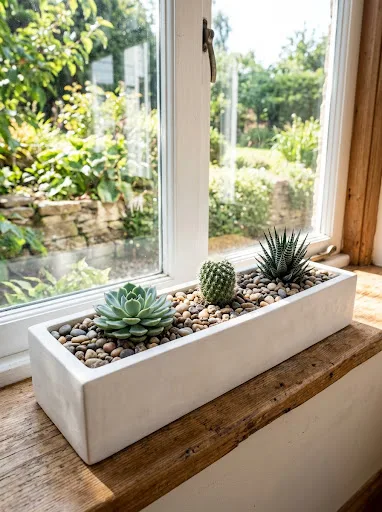
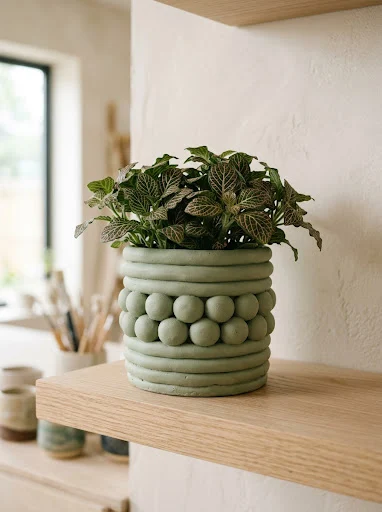
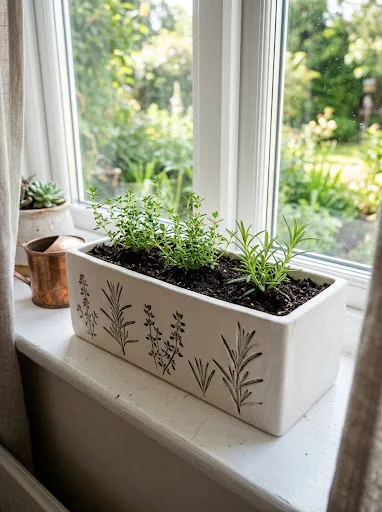
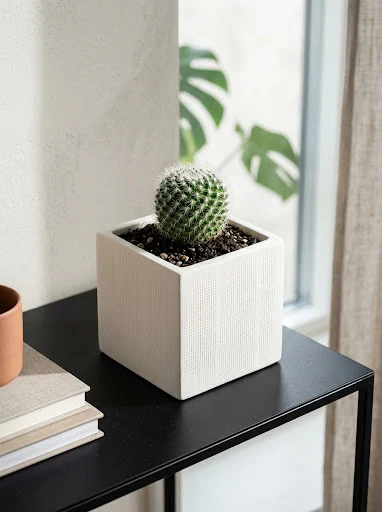
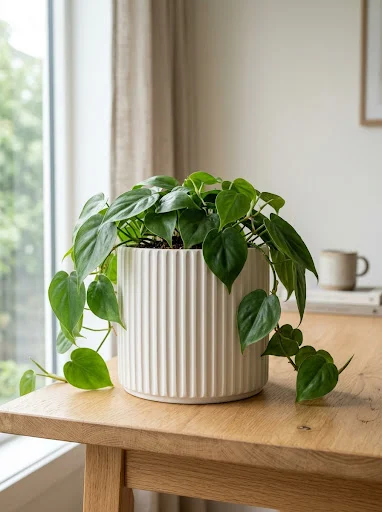
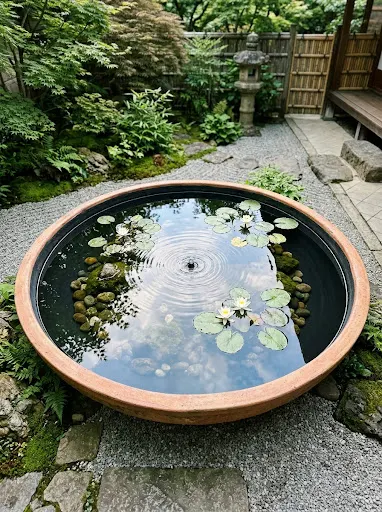
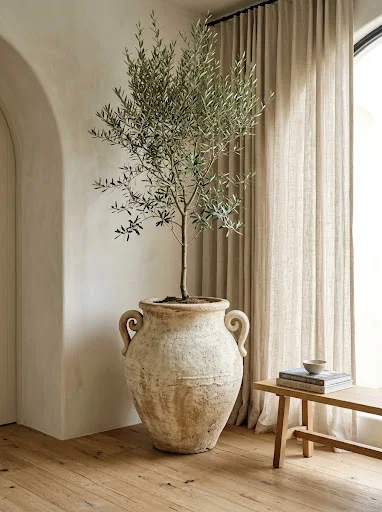
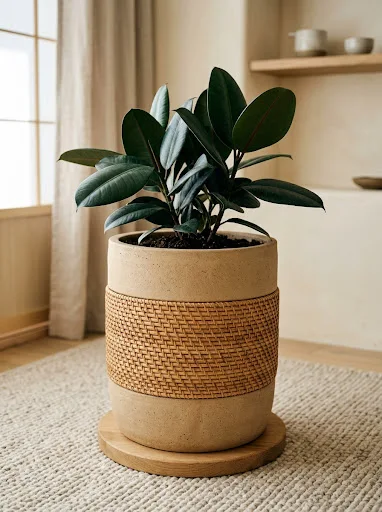
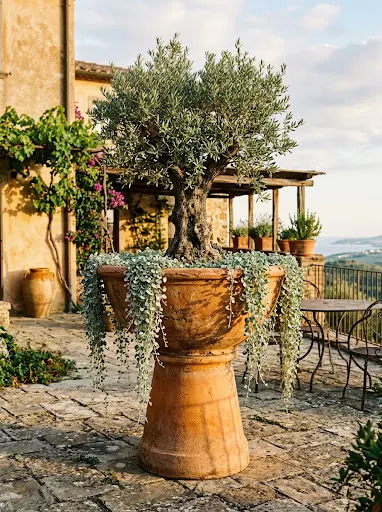
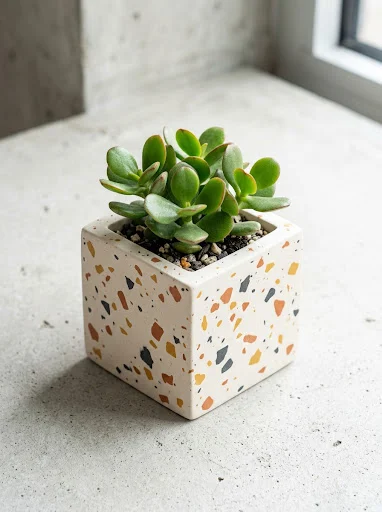
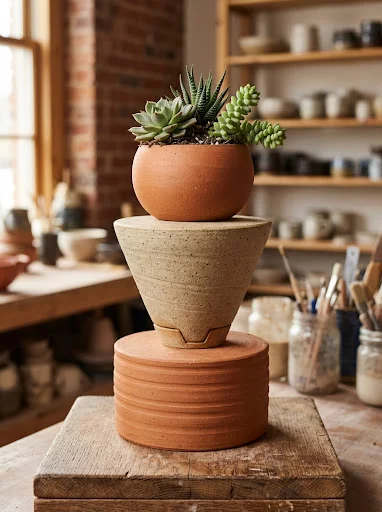
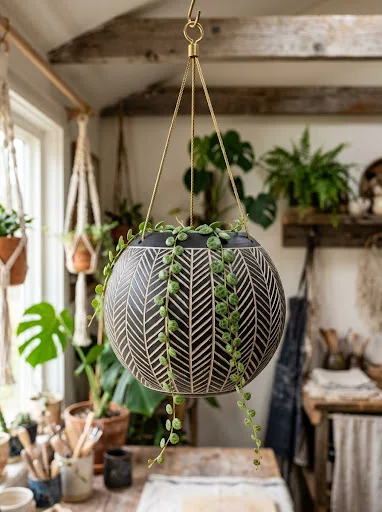
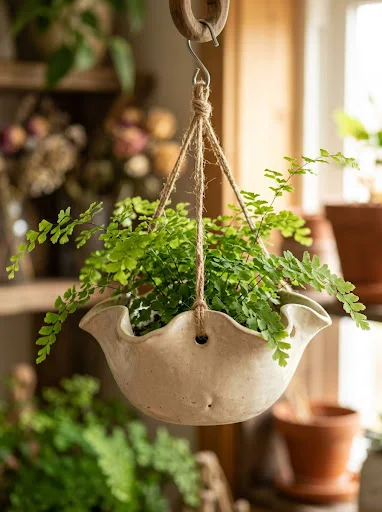
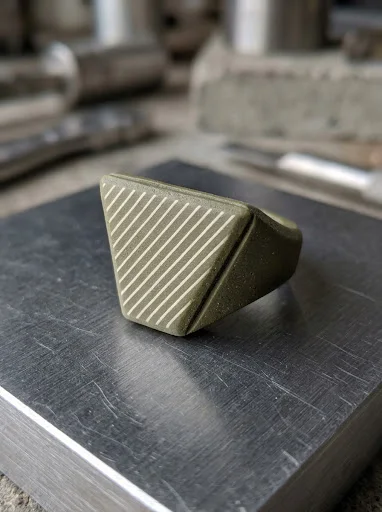
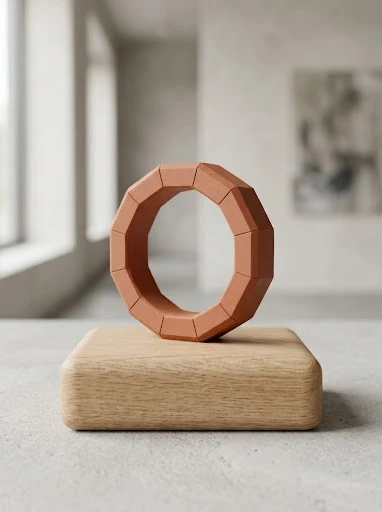
Handcrafted pottery and modern indoor gardening form a harmonious partnership across contemporary visual design platforms, inspiring plant enthusiasts to build tailored plant vessels. Minimalist clay planter designs represent a disciplined approach to interior styling, combining structural simplicity, clean geometric lines, and tactile earthen textures. This extensive guide provides ten functional, step-by-step concepts centered around crafting minimalist planters using air-dry or oven-bake polymer clay. Readers will learn the essential core techniques required to construct seamless cylinders, balanced pedestal bases, suspended vertical vessels, and integrated drainage systems without relying on a pottery wheel. Creating custom handmade planters enables decorators to size vessels precisely to nursery pots while avoiding the generic appearances of mass-produced containers. A minimalist approach emphasizes unadorned surfaces, muted natural earth tones, and architectural negative space, allowing the botanical form of indoor foliage to take visual center stage. By learning these foundational hand-building methods, crafters can produce durable, moisture-resistant, and aesthetically refined planters that enhance modern residential environments.
Why This Idea Is Trending or Useful
Sculptural, understated plant containers continue to dominate trending ideas across visual design channels due to their practical value and timeless decorative relevance. Modern living spaces prioritize thoughtful curation and deliberate spatial organization, favoring multi-functional home decor pieces that avoid unnecessary visual clutter. The DIY appeal of hand-built planters stems from the accessibility of polymer and air-dry clay mediums, which allow beginners to achieve sleek, stone-like finishes at home without access to specialized ceramic kilns. From a functional perspective, custom vessels resolve common indoor gardening challenges by providing tailored fits for odd-sized nursery containers, integrated catch basins for excess moisture, and space-saving vertical hanging alternatives for compact living quarters. Minimalist style naturally aligns with biophilic principles, using unglazed finishes, sand tones, terracotta, and slate grays to create grounding organic focal points. The low cost of raw clay combined with the high visual quality of finished geometric forms makes this a rewarding creative project for crafters seeking functional, long-lasting additions to their living spaces.
Materials and Preparation
Achieving durable, professional results when fabricating clay planters requires systematic preparation and appropriate tool selection before manipulating the raw medium. The foundational materials include high-density polymer clay or reinforced mineral air-dry clay, waterproof liquid sealant, acrylic rolling pins, wooden depth guide slats, craft blades, flexible smoothing ribs, and fine-grit sanding sponges. Planters that house live greenery require moisture barriers; therefore, liquid polyurethane, epoxy resin, or marine varnish is necessary to seal porous interior surfaces against water damage. Essential preparation begins with thoroughly cleaning a non-porous working plane, such as a smooth ceramic tile or glass plate, to prevent loose dust, lint, and table debris from embedding into light-toned clay. Condition raw clay thoroughly by kneading it repeatedly until it becomes pliable and free from dry fissures. Measure the target plastic nursery pot before cutting any slabs, allowing a ten percent expansion clearance to guarantee smooth insertion and removal during regular watering routines.
1. Cylindrical Pedestal Basin
Execution Process
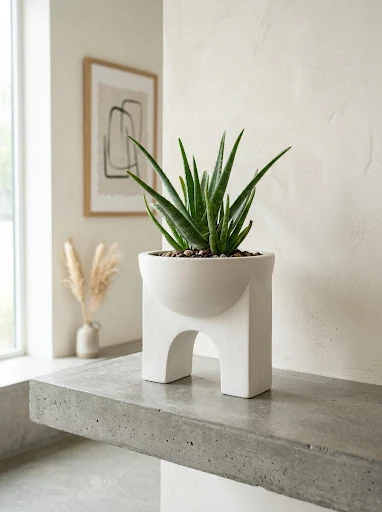
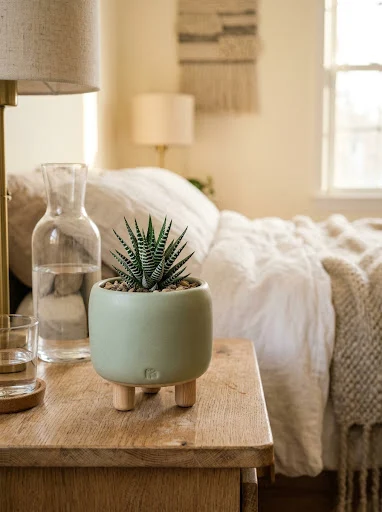
The cylindrical pedestal basin elevates classic container gardening by combining a clean circular cup with a slightly narrower, recessed foot ring. This dual-tier construction lifts the primary planter body three-quarters of an inch off the tabletop, creating a light shadow gap that makes the solid clay form appear weightless. The design features straight, vertical walls meeting a flat perpendicular base, capturing the crisp geometry characteristic of modern architecture. Its unadorned exterior highlights the natural texture of warm sand or speckled stoneware clay, making it an exceptional companion for trailing pothos, compact jade, or upright snake plants. The integrated foot ring also prevents direct contact between the main water-bearing vessel and delicate furniture surfaces, eliminating condensation damage. This piece offers beginners structured practice in slab rolling, 90-degree corner joins, and concentric cylinder alignment.
Begin by rolling conditioned off-white polymer clay onto a smooth tile using five-millimeter depth slats to guarantee an even slab thickness across the entire sheet. Cut a rectangular strip measuring four inches wide by twelve inches long using a metal ruler and a sharp craft knife to form the main outer wall. Cut two circular discs: a four-inch disc for the planter floor and a three-inch disc to build the recessed base pedestal. Wrap the rectangular strip around the perimeter of the larger disc, beveling the vertical seam edges at a 45-degree angle to produce an invisible, flush bond. Smooth the interior and exterior joint lines using a flexible silicone clay rib tool dipped in water or rubbing alcohol. Center the smaller circular disc beneath the base, blending the contact points firmly with a wooden modeling tool. Cut a half-inch drainage hole through both bottom layers using a brass tubing punch, then cure the planter according to the clay manufacturer’s thermal specifications before applying an interior water-resistant sealant.
2. Fluted Arch Wall Pocket
Setup Method
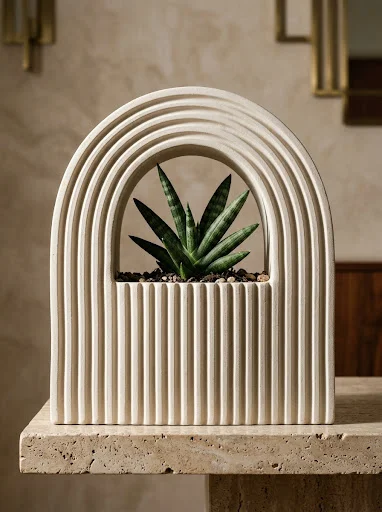
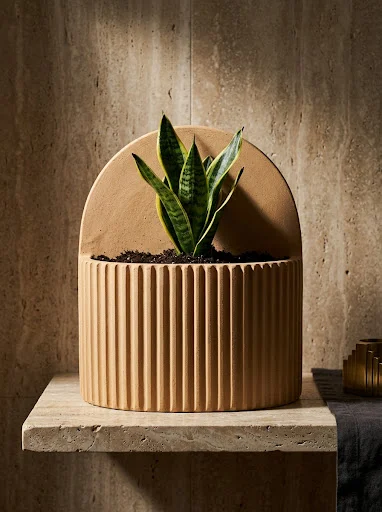
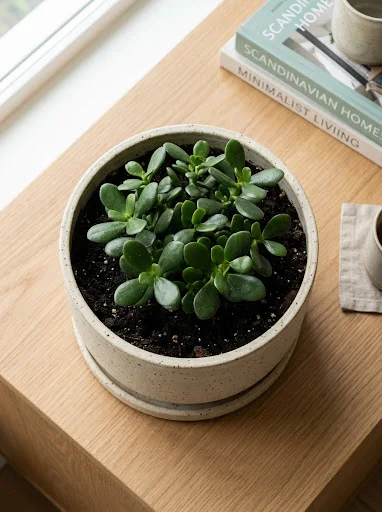
The fluted arch wall pocket introduces vertical greenery to unused wall spaces, blending decorative relief textures with a practical, space-saving format. This design features a flat backplate cut into a smooth Roman arch, paired with a half-cylinder front pocket that bows outward to house trailing vine cuttings or air plants. The front surface is embellished with vertical, parallel fluting channels that run from the top rim down to the base, adding subtle tactile depth without interrupting the overall clean silhouette. Designed to mount directly onto drywall hooks, this vessel functions as functional wall art, bringing biophilic warmth to narrow hallways, gallery walls, and home office nooks. The flat rear panel keeps the container resting flush against the wall, while the open top provides easy access for plant maintenance.
Roll a large slab of warm gray clay to a consistent four-millimeter thickness on your non-porous work surface. Use a paper template to cut out an elongated Roman arch measuring five inches wide by eight inches tall, rounding the top apex symmetrically. Next, cut a flexible rectangular panel measuring six inches wide by four inches tall, using a rounded gouge tool to carve straight, parallel vertical lines spaced a quarter-inch apart along the front exterior surface. Curve the textured front panel into a half-cylinder and affix its side edges to the lower half of the flat arch backplate, reinforcing the interior joins with a thin rolled coil of clay. Pierce a keyhole mounting aperture through the upper curved portion of the backplate using a five-millimeter craft hole punch. Smooth all exterior seams with a damp sponge, allow the vessel to cure completely, and coat the interior pocket with two layers of liquid waterproof varnish to protect the assembly against misting dampness.
3. Asymmetrical Angular Prism Planter

How to Create
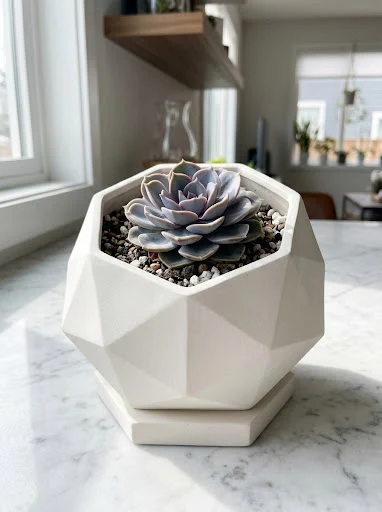
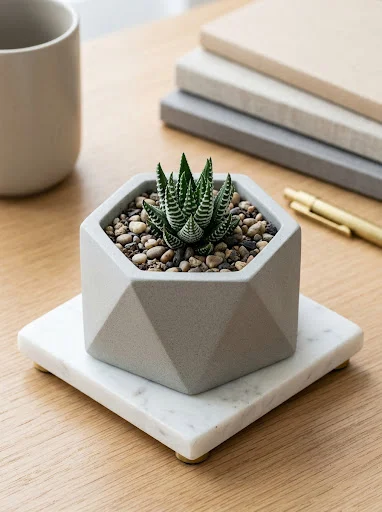
The asymmetrical angular prism planter departs from traditional circular pottery forms, utilizing crisp multi-faceted geometry to interact with natural interior lighting. The exterior consists of several non-uniform triangular and trapezoidal planes that slope inward toward a hexagonal opening, creating dynamic shadows that shift as room lighting changes throughout the day. This faceted shape provides structural rigidity while keeping the overall wall thickness thin and lightweight. Styled in a matte charcoal or slate black clay body, this planter acts as a striking modern accent on wooden shelving units, glass coffee tables, or concrete window ledges. The angular facets contrast the soft, organic curves of succulents, cacti, or cascading string-of-pearls, demonstrating how geometric precision can complement natural plant growth.
To build the prism, sketch and cut six asymmetrical trapezoidal templates from lightweight cardboard, keeping each panel approximately four inches tall with alternating base widths. Roll a dense slab of charcoal-colored clay to an exact four-millimeter depth, placing the cardboard templates onto the clay to trace and slice out the six individual faceted wall components with a sharp hobby knife. Bevel the mating edges of each panel inward at a 30-degree angle to ensure clean, tight corner joints when assembled into a three-dimensional ring. Join the panels sequentially over a hexagonal base plate, using a scoring tool to scratch the contact edges and applying a thin coat of liquid clay to act as a permanent bonding agent. Press a silicone smoothing tool along the inside corner seams to build mechanical strength while keeping the outer faceted angles sharp. Bake or air-cure the faceted vessel thoroughly, gently sand any excess exterior seams with 400-grit wet sandpaper, and apply a matte polyurethane sealant to the interior chamber.
4. Suspended Hemispherical Hanging Bowl

Step-by-Step Guide
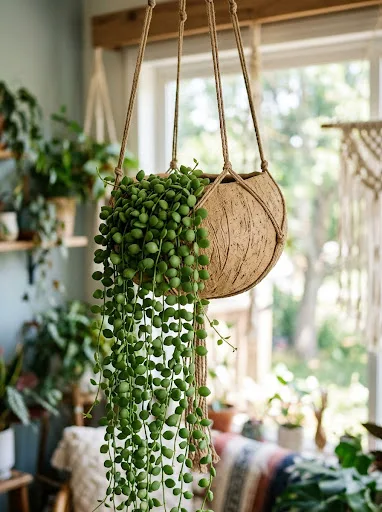
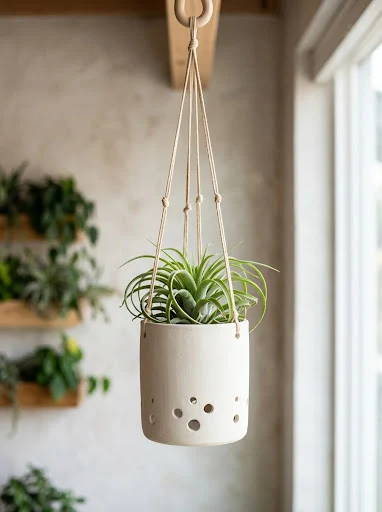
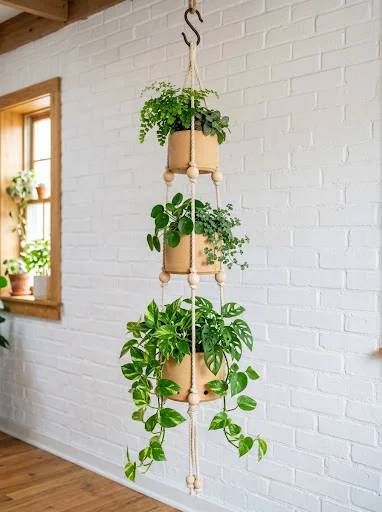
The suspended hemispherical hanging bowl offers an airy, floating botanical display that maximizes overhead ceiling space and window light. This design consists of a half-sphere bowl suspended from three minimalist natural leather or unbleached cotton cords that converge into a single metal hanging ring. The exterior bowl surface remains smooth and unadorned, finished in a raw ecru or chalk-white tone that complements trailing foliage like string-of-hearts, English ivy, or burro’s tail. Elevating plants above floor and shelf surfaces improves airflow around foliage while keeping leafy vines away from curious pets. The smooth hemisphere distributes physical weight evenly across its surface, creating a balanced, level container that hangs straight without tipping.
Begin by rolling conditioned white clay into a uniform five-millimeter slab, smoothing away all surface imperfections with a flexible rubber rib. Carefully drape the soft slab over the exterior of an oven-safe glass mixing bowl or wooden sphere mold that has been dusted lightly with cornstarch to prevent sticking. Trim away the excess clay around the circumference with a craft knife to establish a clean, level horizontal rim. Measure three equidistant points around the perimeter, placed three-quarters of an inch below the upper rim, and pierce clean four-millimeter holes using a hollow punch. Leave the clay seated on its mold during the initial baking cycle to prevent structural sagging or warping. Once fully cured and cooled, remove the vessel from the mold and sand the top lip smooth with fine-grit sandpaper. Thread three twenty-four-inch leather cords through the side holes, knotting them firmly inside the bowl, and gather the top ends into an antiqued brass ring.
5. Concentric Tiered Succulent Trough

Execution Process
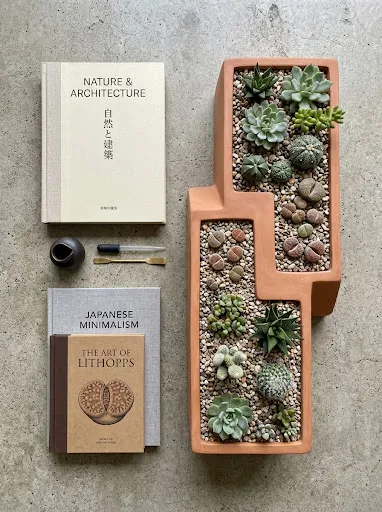
The concentric tiered succulent trough provides an elongated, multi-level planting surface designed specifically for shallow-rooted succulent groupings, miniature cacti, and lithops. The planter features an elongated oval or rounded rectangular base, stepping upward through two distinct architectural levels to create separate soil depths within a single cohesive container. This tiered configuration creates visual interest across long dining tables, credenzas, and deep window sills, allowing gardeners to arrange plants with varied heights without overcrowding roots. The clean horizontal lines reflect Japanese architectural principles, celebrating balance, order, and spatial efficiency. Rendered in a warm taupe or washed terracotta clay, the trough frames succulents cleanly, keeping their structural rosettes neatly organized.
To construct the tiered trough, roll a large clay slab to a sturdy six-millimeter thickness to support the wide, elongated base. Cut an oval base plate measuring twelve inches long by five inches wide, followed by an interior raised terrace plate measuring six inches long that spans half the floor area. Cut exterior wall strips of two different heights: a two-inch strip for the lower terrace and a three-and-a-half-inch strip for the elevated tier. Score and bond the lower wall strip around the circumference of the main base plate, then attach the taller wall strip around the elevated rear section, integrating the internal dividing shelf with liquid clay adhesive. Use a wooden modeling stick to compress all internal seams, reinforcing the joint lines with thin clay coils to prevent leakage between tiers. Punch two independent drainage holes through the bottom of each terrace floor. Cure the vessel completely, smooth the top outer rim with an abrasive sanding pad, and seal all interior compartments with waterproof marine varnish.
6. Monolithic Fluted Column Vessel

Setup Method
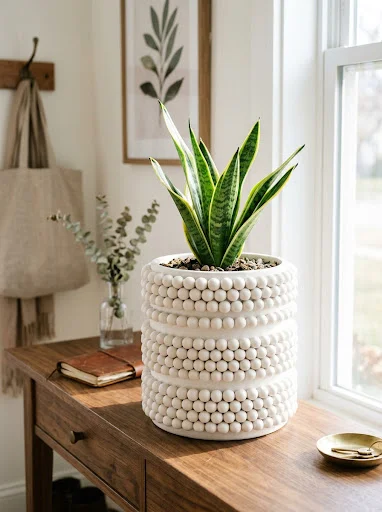
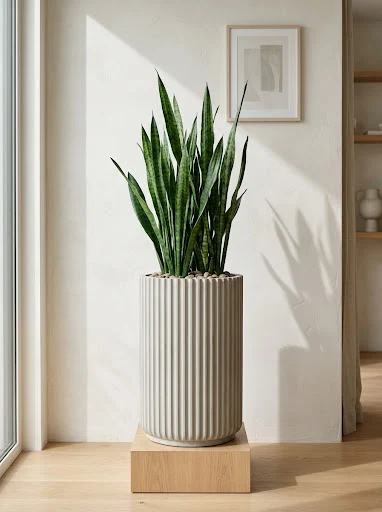
The monolithic fluted column vessel draws inspiration from classical Greek column architecture, translating historical stone craftsmanship into an understated modern planter. The design features a tall, vertical cylinder wrapped in tight, concave vertical ridges that run continuously from base to rim, creating a repeating pattern of light and shadow around the perimeter. The repetitive fluting adds structural strength to the cylinder walls, allowing the planter to maintain a tall, slender silhouette without bowing outward under soil weight. Styled in an unglazed limestone or warm bone finish, this column planter provides an elegant vertical pedestal for upright indoor plants such as calatheas, peace lilies, or cast-iron plants. The vertical ridges draw the eye upward, complementing the natural vertical growth of interior house plants.
Start by rolling out a three-millimeter slab of bone-white polymer clay onto a long ceramic tile. Lay a flexible silicone fluting mat or decorative clay texture mat over the entire slab, rolling firmly with an acrylic roller to press uniform vertical ridges into the surface. Trim the embossed sheet into a rectangle measuring six inches high by thirteen inches wide, ensuring the fluted channels remain aligned with the vertical edges. Roll a separate four-inch circular base disc at a thickness of five millimeters. Form the embossed rectangular slab into a cylinder around an interior cardboard support tube wrapped in parchment paper, joining the vertical edges along a fluted groove to conceal the seam. Score and bond the fluted cylinder onto the four-inch circular base, blending the interior seam with a wooden modeling tool. Remove the internal cardboard tube prior to baking, cure the clay cylinder according to manufacturer instructions, and seal the interior with brush-on polyurethane to preserve water tightness.
7. Rounded Capsule Footed Planter

How to Create
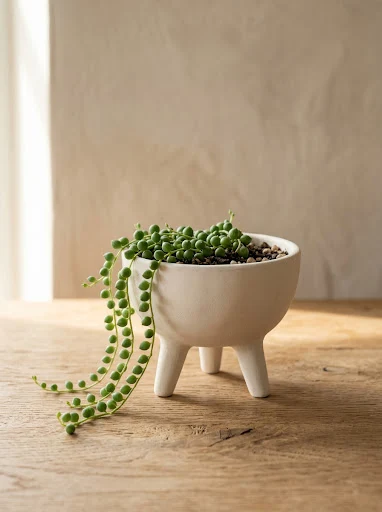
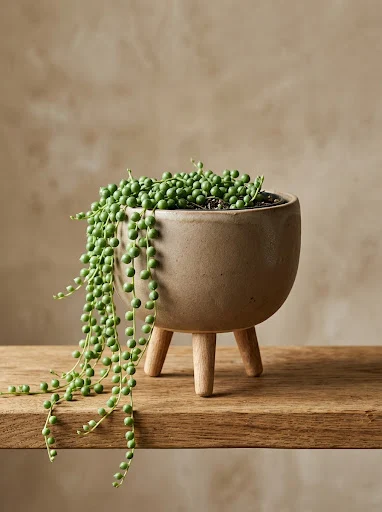
The rounded capsule footed planter pairs a softened, pill-shaped bowl with three stubby, cylindrical dowel legs, creating a balanced, playful accent piece. The main bowl features a curved, parabolic profile that transitions smoothly into a flat top rim, resting on three short, solid clay feet attached to its base. Raising the curved body on three points of contact provides structural stability on slightly uneven surfaces while allowing air to circulate freely beneath the drainage hole. Rendered in a soothing sage green, pale terracotta, or warm buttercup tone, this container complements modern living rooms, nightstands, and open book displays. The soft curves contrast well with the spiky, architectural foliage of haworthias, pecorinos, or small upright ferns, adding an inviting artisan touch to interior spaces.
Begin by shaping a solid ball of conditioned clay into a smooth hemisphere using pinch-pot methods, rotating the ball in your palm while pressing your thumb into the center to hollow out the cavity. Maintain an even wall thickness of roughly five millimeters throughout the bowl, using a curved rubber kidney tool to smooth the exterior and interior contours. Flatten the top rim by gently pressing the inverted bowl against a flat ceramic tile. To craft the three cylindrical feet, roll a thick coil of matching clay to a one-inch diameter and slice three equal segments measuring one and a quarter inches long. Invert the main bowl, score three equilateral mounting points across the curved underside, apply liquid clay bonding agent, and press the feet firmly into place. Blend the joint perimeters using a miniature ball-stylus tool to ensure the legs stay firmly attached through curing. Punch a drainage hole through the center of the base, bake the inverted planter, and coat the interior with waterproof acrylic varnish once cooled.
8. Offset Cantilever Planter and Saucer

Step-by-Step Guide
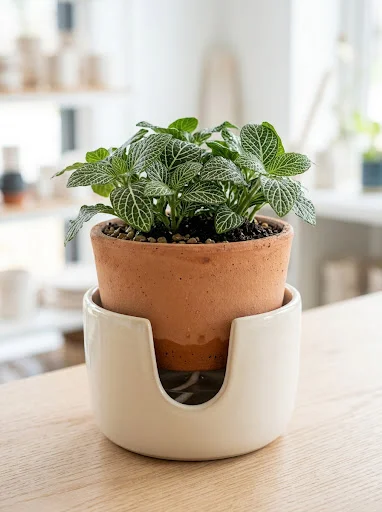
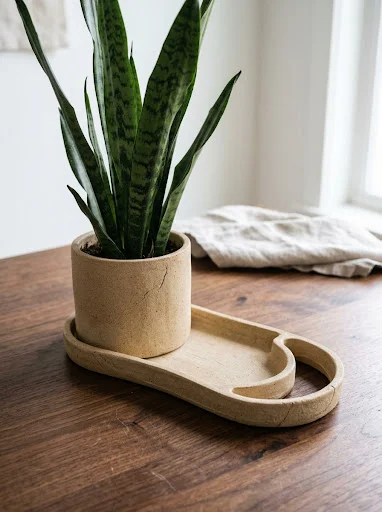
The offset cantilever planter reinterprets traditional two-piece pot-and-saucer sets by integrating the drainage tray directly into an asymmetrical architectural silhouette. The upper cylindrical planter body sits intentionally offset over an elongated oval base tray, leaving a crescent-shaped open basin on one side that acts as an accessible bottom-watering port. This configuration allows growers to pour water directly into the lower basin, letting plant roots absorb moisture upward through bottom drainage holes without disturbing the upper soil. The clean visual break between the upper cylinder and the lower tray provides an interesting geometric profile that fits minimalist environments. Styled in a textured slate or sand-toned clay, this functional set eliminates the need for plastic catch trays, offering a clean, unified presentation for office desks and bookshelves.
Roll out a flat slab of sand-textured clay to a six-millimeter thickness on your workspace. Cut an elongated oval base measuring eight inches long by five inches wide, and cut a four-inch-wide by fourteen-inch-long strip for the planter walls, alongside a matching four-inch circular disc for the pot floor. Construct the cylindrical pot by joining the strip around the circular floor, smoothing the interior and exterior seams thoroughly. Cut a half-inch drainage hole through the bottom floor near its perimeter edge. For the base tray, roll a low, three-quarter-inch-tall rim and wrap it around the outer perimeter of the large oval base plate to form a waterproof catch basin. Position the cured or raw cylinder onto one end of the oval tray, bonding the shared floor contact points securely with liquid clay while leaving the opposite side open. Cure the combined assembly according to clay package specifications, then apply two coats of waterproof epoxy resin over the entire interior tray basin to ensure complete water tightness.
9. Minimalist Ring Handle Vessel
Execution Process
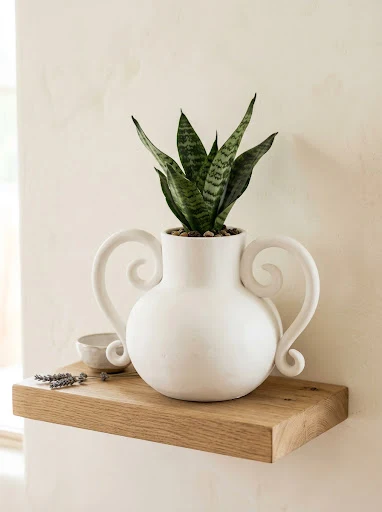
The minimalist ring handle vessel incorporates functional transport features directly into its sculptural profile, featuring two oversized, circular ring handles attached symmetrically to opposite sides of a cylindrical planter body. The hollow circular handles echo early 20th-century ceramic studio designs, offering a comfortable, secure grip for moving the planter during watering or lighting adjustments. The contrast between the straight vertical walls and the rounded circular handles adds visual energy without needing surface patterns or bold colors. Finished in a matte warm-white or unglazed oatmeal finish, this vessel suits modern dining tables, credenzas, and kitchen islands, housing bushy herbs or leafy foliage plants like philodendrons and calatheas with practical, understated elegance.
Roll conditioned off-white clay to an even five-millimeter thickness, cutting a rectangle measuring five inches tall by fifteen inches wide, along with a five-inch circular base plate. Join the rectangular slab around the circular base, using a scoring tool and water to bond the seams before smoothing the joint lines with a flexible scraper. To craft the circular handles, roll a long, uniform snake of clay to a three-quarter-inch diameter, cutting two segments measuring seven inches in length. Loop each segment into a closed circle, bevel the joining ends, and blend them into seamless rings with your fingertips. Flatten one side of each ring slightly to create a stable contact surface. Score the opposing vertical walls of the main cylinder three inches down from the rim, apply liquid clay, and press the flattened handle edges firmly against the planter walls. Reinforce the handle joins with small clay coils on the interior curve, cure the entire piece, and apply an interior coat of waterproof polyurethane.
10. Ribbed Square Cachepot
Setup Method
The ribbed square cachepot brings crisp, cube-like geometry to indoor plant styling, designed specifically as an outer decorative sleeve for standard square plastic nursery pots. The four planar walls feature horizontal raised ribs spaced half an inch apart, introducing clean horizontal lines that accentuate the planter’s sharp corners. Because this design acts as a cachepot, it holds the interior nursery pot without requiring a drainage hole, preventing water droplets from escaping onto wooden shelves or office furniture. The boxy shape allows multiple containers to sit flush alongside one another, making it an excellent choice for compact windowsill herb gardens or organized library book ends. Finished in a soft bone, sage, or dark basalt tone, this piece offers a tailored, orderly look that suits clean, clutter-free interiors.
Cut four identical square panels measuring four and a half inches on each side from a four-millimeter-thick slab of conditioned polymer clay. Using a straight ruler and an embossing stylus, impress straight, horizontal grooves spaced half an inch apart across the front faces of all four panels, keeping the lines parallel to the top and bottom edges. Bevel all vertical side edges at a 45-degree angle using an angled craft slicer to ensure tight corner joins. Cut a four-inch square base plate from smooth, untextured clay. Assemble the four wall panels around the base plate, aligning the horizontal ribs at every corner so the lines wrap continuously around the cube. Use an interior wooden modeling tool to seal the internal corner joins, reinforcing them with small clay coils pressed firmly into the seams. Check that the upper rim forms a true square with a set square before curing. Bake the planter flat on a ceramic tile, and brush a thick coat of waterproof acrylic sealant across the interior floor and walls once cooled.
Common Beginner Mistakes and How to Avoid Them
Constructing functional clay planters without specialized ceramic studio equipment presents specific structural challenges that require careful attention to detail. A frequent beginner mistake is rolling slabs to inconsistent depths, which causes uneven curing, localized warping, and weak walls that can buckle under the weight of wet potting soil. To prevent this, always roll clay using rigid wooden depth slats or silicone guide rings attached to both ends of your rolling pin to maintain an even four-to-six-millimeter thickness. Another common pitfall is inadequate seam compression; simply pressing clay edges together without scoring, using liquid clay, or blending internal joints often leads to cracked seams once the vessel is filled. Always score mating edges in a crosshatch pattern, apply a thin layer of liquid polymer clay or water-based slip, and press a reinforcing coil along the inside corners to ensure a durable bond. Beginners also frequently overlook proper water sealing, assuming cured polymer or air-dry clay is naturally impervious to standing water. Air-dry clays are water-soluble and will soften over time, while unsealed polymer clay can develop micro-fissures that allow moisture through. Always apply two to three coats of waterproof marine varnish or liquid epoxy resin across all interior surfaces before planting.
Practical Tips for Better Results
Achieving smooth, boutique-quality finishes on handmade minimalist planters relies on disciplined surface preparation and thoughtful curing techniques. Before baking or setting your clay to dry, inspect the exterior surfaces under directional raking light to spot subtle finger impressions, lint, or uneven areas. You can remove surface dust and fingerprints from uncured polymer clay by gently wiping the raw surface with a cotton pad lightly dampened with isopropyl alcohol. For air-dry clays, smooth away small surface imperfections using a flexible rubber pottery rib dipped in clean water. When creating vessels with straight, vertical walls, support the interior during construction using cardboard mailing tubes, glass jars, or metal cans wrapped in parchment paper to prevent the soft walls from sagging inward before curing. Always use an independent oven thermometer to verify the interior temperature of your home oven; temperature spikes can scorch light-colored clays, while under-baking leaves clay brittle and fragile. After the piece cures and cools completely, use 400-grit to 800-grit wet sandpaper under running water to polish the rim and base, giving your handmade planter a smooth, professional stone-like finish.
Styling, Presentation, or Organization Ideas
The clean lines of minimalist clay planters make them exceptionally versatile for home styling, grouping, and interior plant presentation. When displaying multiple planters on open shelving or a credenza, group vessels in odd-numbered clusters of three or five, varying the container heights and diameters to create an organic, balanced visual rhythm. Pair unglazed, light-colored planters with deep green, glossy foliage plants like fiddle-leaf figs, monstera deliciosa, or rubber trees, using the high color contrast to emphasize the plant’s natural architectural shape. On dining tables or long window sills, arrange geometric or ribbed planters in a continuous linear row to establish a cohesive, modern centerpiece that feels intentional and structured. You can also match the vessel colors to the room’s broader architectural materials: pair charcoal and slate planters with blackened steel and glass accents, or style warm terracotta and bone planters alongside natural white oak and woven textiles. Using elevated plant stands, floating shelves, or wall-mounted pockets lets you disperse greenery at varied eye levels throughout the room, creating an immersive, multi-tiered botanical display that keeps floor spaces open and uncluttered.
Budget or Time Planning
Creating custom hand-built clay planters is an economical, budget-friendly project that yields high-end home decor accents without substantial financial investment. A standard block of professional polymer or air-dry clay costs very little and provides enough material to construct two medium-sized containers or three compact succulent cups, keeping production costs well below retail ceramic prices. To optimize your crafting time, organize your project into focused production stages rather than completing one vessel from start to finish. Dedicate your first session to conditioning the clay, rolling all flat slabs, and cutting your structural components using prepared cardboard templates. Allow the cut pieces to rest for twenty minutes to firm up slightly, which makes them easier to handle without warping the edges. Spend your second session assembling the wall seams, smoothing joints, and attaching base pedestals or feet before curing everything together in a single, energy-efficient oven cycle. The final sealing and optional wet sanding take roughly twenty minutes per piece once the clay is fully cooled. This systematic batching approach allows you to build an entire coordinated collection of designer planters over a single weekend.
Creative Expansion and Advanced Inspiration
Once you feel comfortable with foundational hand-building techniques, explore creative variations to expand the visual depth and functionality of your planter designs. Consider incorporating mixed-media elements into your clay vessels, such as embedding turned hardwood base rings, attaching woven brass wire accents, or pairing unglazed clay with raw stone elements for rich textural contrast. You can also experiment with surface clays, blending fine volcanic sand, crushed terracotta crumbs, or black granite flecks into smooth white clay to mimic the look of speckled studio ceramics and cast concrete. Advanced makers can try building interlocking modular systems, crafting matching sets of geometric planters that slot together into expandable honeycomb configurations along sunny window ledges. Another rewarding direction involves exploring natural earth pigments, using subtle iron oxide washes or watered-down mineral paints buffed into textured surface grooves to highlight relief details. By mastering these core shaping principles and exploring varied surface finishes, you can continue expanding your pottery skills, producing functional, modern plant vessels tailored to your evolving interior decor.